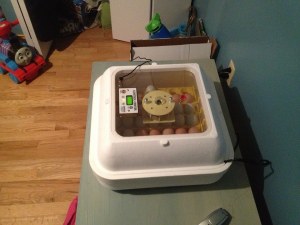
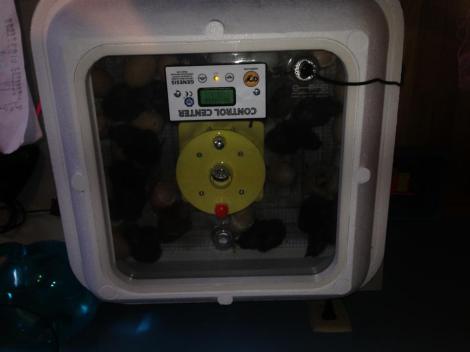
It’s been a year long wait, but we’ve finally purchased an incubator to hatch eggs on the farm. We purchased the hovabator genesis 1588 incubator at the recommendation of another poultry enthusiast/farmer. Unfortunately, one part was broken but Incubator Warehouse mailed a replacement part free of charge with free shipping and without fuss, which was a relief. I’ll definitely consider them again when we purchase a larger incubator down the road. If anyone is interested in purchasing an incubator, I would recommend the following two websites: (1) http://incubatorwarehouse.com/ and (2) http://www.berryhill.ca/. Incubator warehouse is American and Berry Hill Farm is Canadian. I’ve purchased from both and have been equally satisfied. Some of you may be wondering why I didn’t go with a larger size Sportsman incubator that can handle up to 200 chicken eggs. I’ve decided to be frugal and principled. We’ll continue to think big and grow our business slowly and without haste so that we handle our business properly. As I’ve mentioned in previous blogs, there is no room for error when dealing with life. This inaugural hatch, requires attention to detail and a step-by-step procedure to follow to insure a high hatch rate.
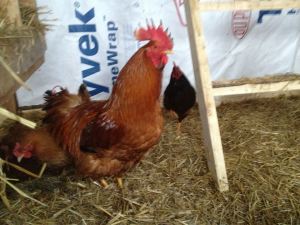
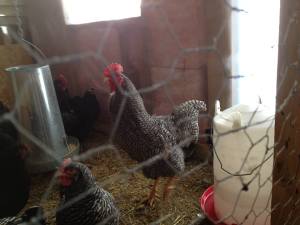
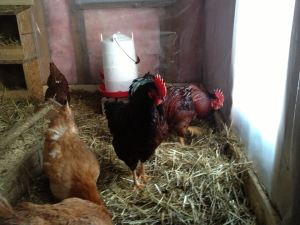
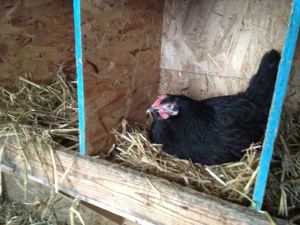
This past year, as someone new to poultry husbandry, we purchased 7 different breeds from breeders in NB. We went with New Hampshires, Black Australorps, Rhode Island Reds, Barred Plymouth Rocks, Delawares, Speckled Sussex, and Silver-laced Wyandotte. After nearly a year of observation I’ve decided to forgo any attempts to breed the silver-laced wyandotte, delaware, and speckled sussex. These breeds lay smaller eggs, which our local market doesn’t support, and are not as cold hardy as their coop mates. However, I have a soft spot for the Delaware (my favorite breed) and the Speckled Sussex. Both breeds are extremely docile and child-friendly, which has the ol’ hamster wheel turning about possible farm education potential with both these breeds down the road. Speckled Sussex make excellent pets and Delawares are one of the top dual purpose breeds (eggs and meat). Time will tell. However, at this point of time, I want to focus on four main breeds: New Hampshires, Rhode Island Reds, Barred Plymouth Rocks, and Black Australorps. Three breeds originating out of New England and a heat hardy/excellent egg layer Black Australorp, which originated in Australia.
These four breeds will allow us to run our pastured poultry egg laying operation with the appropriate numbers for breeding flocks (minimum size approx. 50) and keep us under the current restriction of no more than 199 laying hens on NB farms without quota. All in all, we’re moving closer and closer to our organic certification by upholding beyond organic principles, building infrastructure, and treating our animals with an ethic of care. Slowly and surely.
For our first hatch, I’ve decided to purchased hatching eggs from a farmer south of the province, which afforded my wife and I the opportunity to buy our new Merrell barefoot running shoes. Spring, a time for growth and a time for healing but, i’ll save my excitement about running for another blogpost. For our first hatch, we purchased 24 Plymouth barred rock eggs and 12 Easter Eggers. Our breeding loft is in the works, so we had to go off farm to get hatching eggs. The eggs for the next hatch will come from the farm, which further increases our self-sustainability. For those of you who do not know what Easter Eggers are, they are chickens that carry a blue or green egg laying gene. What better way to get kids interested in farming and eating healthily, than piquing their visual curiosity in chicken eggs? At MacCurdy Farm, educating youth about where food comes from is a priority. Building connections from consumer to producer allows us to do that. Look for the odd blue or green egg in your egg purchases this coming fall!
Incubation, as far as the literature dictates, is a science so I thought I would compile some important information for those of you to access should you feel compelled to incubate and hatch eggs. Below, you will find some important how-to information if and when you become a poultry enthusiast or a homesteader or a small farmer or a person with a newfound passion for food made in your backyard.
Setting eggs
Eggs need to be set (incubated) after being stored for no more than 7 – 10 days and should be allowed to warm to room temperature before being placed in the incubator. Eggs must be placed in the hatching trays with the small point downwards. The air sac will be on the round part of the egg.
humidity
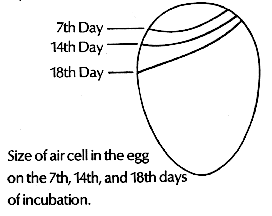
Keep the humidity inside in the incubator between 25 – 60% up until the 18th day when humidity needs to be between 70 – 80% for the hatch. However, I’ve recently been made aware of an approach to hatching called the dry hatch when you keep humidity to a level between 30 to 40% for the entire hatch. If humidity is kept too high during incubation, it can lead to chick drowning inside the egg due to a high level of moisture inside the egg that the chick reaches when it begins to pip. By the point of pipping, the air sac needs to be 1/3 of the size of the egg. By this point, the egg white will have completely evaporated. This way, the chick can pip and not have egg white and water clog it’s nostrils and suffocate it. Adding water to the water tray increases the humidity and should be checked daily to make sure it does not fall below 25%, which can lead to defects and deformities in the chicks. Use a hygrometer to assess the relative humidity.
Turning eggs
I strongly recommend purchasing an egg turner to save yourself the time it takes to turn eggs three times daily from x side to o side (traditionally eggs are marked with x’s and o’s to track their turns). Remember a hen would naturally do this when setting on the eggs. Eggs are turned up until the last three days of hatching (Day 19, 20, 21) when they are removed from the hatching trays and place on the mesh floor to allow the embryos to move into the hatching position.
Temperature
The optimal temperature to incubate eggs is 99.5 degrees Fahrenheit according to the experts. The hovabator genesis 1588 is preset to 100 degrees Fahrenheit so we had to make a slight adjustment to our temperature setting. Remember, lower temperatures lengthen the hatching period and higher temperatures shorten it.
Candling
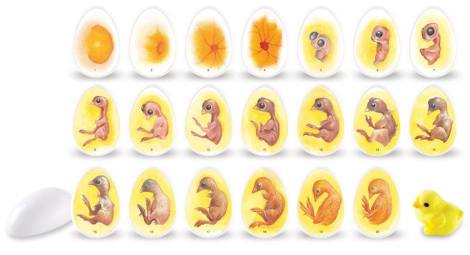
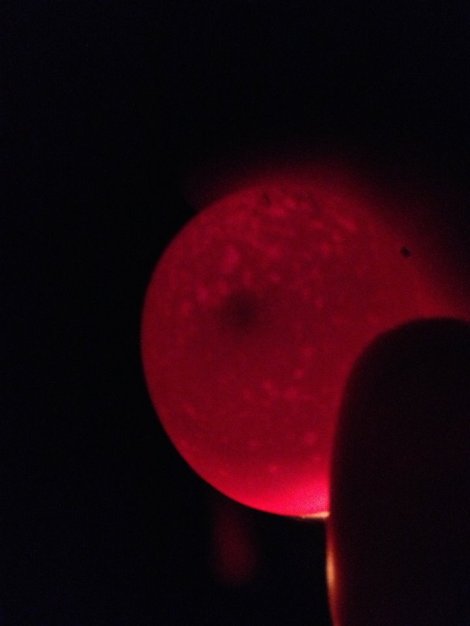
We purchased a candler aka. “glorified flashlight” to test for vein growth and embryonic growth inside the egg. While inside a darkened room place the egg on the candler. This can first be done after the 5th day of incubation. Candling allows you to check for viability. Infertile eggs are clear or will show a dark ring, if they have died. Make sure to remove dead or infertile eggs to avoid contaminating the rest of the eggs. If the entire egg glows and no veins are apparent, the egg is infertile and must be removed. Infertility checks should be made around 10 days. The first signs of growth will be in the form of veins and towards the 18th day the air sac should have enlarged considerablye (approx. 1/3 of the egg will show an air pocket) with the appropriate humidity.
Lock-Down Period
Bring the humidity to the required level for the 19th to 21st day and then lock it down until the hatch has completed or you intervene on the 22nd day. Do not remove chicks until they are fluffy as they may get a chill. It is important to have your brooder kit set-up before the hatch completes so they can be moved to a comfortable home outside of the incubator.
We’ll treat this article as a living document and edit it as experience dictates. There will be more pictures to follow of the hatch. Here’s to a great hatch in 21 days!
Day 1 to Day 5: Humidity kept between 40 to 60%. Eggs are turning nicely on the automatic turner although the gearbox for the turner seems to be an impediment to turning one of the eggs in the tray nearest to it.
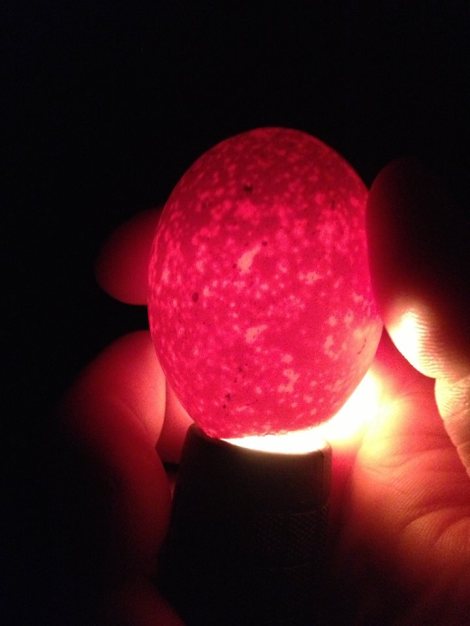
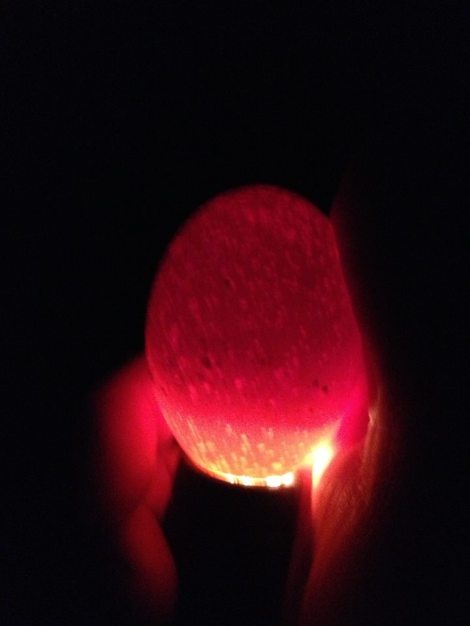
Day 6: Candled my first egg and although the egg appeared to be a bit porous in places (specs of light shine through the egg shell) I was uber excited to see veins forming inside the shell. Only tested one egg. I’ll candle 2 eggs from each tray on the 8th day.
Day 8: Tonight, I meticulously candled 6 trays of eggs from the incubator and made notes on the apparent fertility of each egg. It took approximately 45 minutes as I took extensive notes on appearance, type of egg, fertility, and the position of the egg in the incubator.
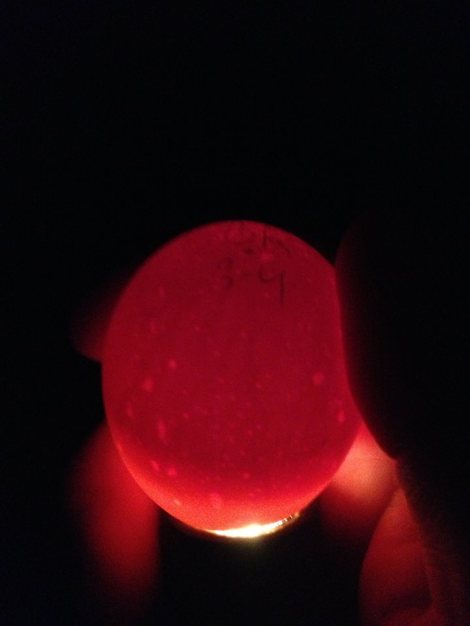
Upon candling the eggs I decided to categorize the eggs three different ways: (1) fertile, (2) infertile, and (3) questionable. At the end of candling 36 eggs, 28 appeared to be fertile with apparent vein growth or visible chick development, 3 appeared to be infertile with either no growth at all or the sign of early death called, “Ring of death”, and 5 were questionable as they had vein growth but I wasn’t sure if they had stopped developing. I’ve decided to leave all eggs until the 10th day at which point I’ll candle the eggs I’ve determined are infertile and/or questionable a second time. If there has been no change, they will be removed so that they do not explode inside the incubator. I’m hoping that development makes a turn for the better for no other reason that I’m a big fan of life. My notes and documentation of each egg and it’s location will allow me to track the egg’s development up until the 18th day when the eggs are removed from the turner and placed on the screen inside the incubator. The signs that I used for growth/active chick development were vein growth, chick movement, or evidence of a dark mass (developing embryo). The signs I used for infertility/early death were the literature based ring of death, an overly porous egg, or a transparent egg. See the photos below for evidence of tonight’s candling.
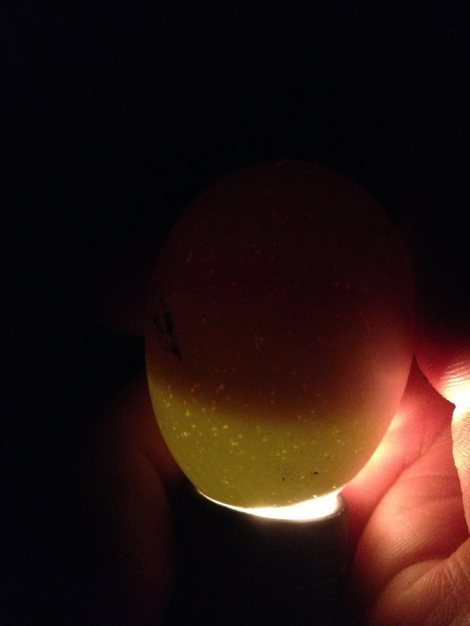
Day 12: I decided to candle a second time tonight and to my surprise my original fear of 8 infertile is down to only 3 inconclusive. There are two porous eggs that I am unsure of and a third egg has a ring but a developing mass that was not present on the day 8 candle. Not sure what to think of this barred rock egg. I’ve also decided to take pictures of air sac development tonight as the air sac needs to gradually get bigger until it takes up approximately 1/3 of the egg. Tonight the air sacs appeared to make up 1/6 to 1/8 of the egg.
I was unsure how to check the development of the air sac so I simply continued to hold the egg with the point facing down and the rounded end facing up. Then, I shined the candler from the top end to see the air sac. It was very clear and apparent in each of the 8 eggs that I candled this evening. Hopefully, in following the dry hatch method, the air sac develops properly and healthy chicks emerge on day 21 and 22. In other news, it looks like I’m going to sell some hatching eggs to a local poultry enthusiast for a broody hen. I’m interested to see how it goes. All part of the poultry game.
Day 18:
Tonight was the beginning of Day 18 so I thought I’d candle the inconclusive eggs. Two early deaths and two infertile eggs, which leaves 32 healthily developing chicks in the other eggs. Candling of a few of the fertile eggs revealed airsacs that had grown in size and a fuller egg with a larger chick inside. One can also weigh the eggs to measure % of weight loss. Ideally in the first 18 days, an egg should lose 11 – 13% of it’s weight. Tomorrow night at 9 pm the eggs will go to lockdown at the beginning of the 19th day for three days until the 22nd day when I will open the incubator to remove fluffy chicks and place them in their new brooder home with pine shavings, water, feed, and heat.
Day 19:
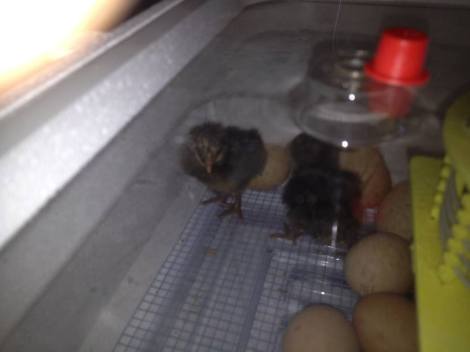
Awoke this morning to find a shell being pipped. The very distinctive cheep cheep of the Easter Egger chick caught my attention. The chick has not emerged yet, so as a first timer I’m a little concerned. While away in St. Quentin getting hay, another Easter Egger chick completely unzipped and started to flop around the rest of the eggs in the incubator. As most of us are prone to doing these days, I googled day 19 chicks and read the chicken forums. It appears to be uncommon, but usually does not pose a risk to the health of the chick. Small eggs, and certain breeds, sometimes hatch ahead of time. I’ll most likely turn the heat down on the next hatch and avoid strictly following the manufacturer’s instructions. I’ve also learned, through email exchange, that shelf liner (you can buy it at the dollar store) makes an excellent footing to lay over top of the wire mesh in the incubator. It serves to prevent splayed leg problems in chicks as well as keep egg-shell fragments from going into the water trays. It’s something we’ll implement on the next hatch of MacCurdy Farm only chicks. Just a couple more things to complete on the breeding pen.
Day 20 – 21:
The chicks are steadily hatching, both Easter Egger and Barred Rock chicks. Three eggs appear to have partially pipped and can not completely zip to exit the egg shell. Not sure if the humidity from day 1 – 18 had an effect on this situation. Just hoping the chicks can make it out. It’s been a frantic lockdown period. I’ve watched several emerge from the shells alongside my children and wife. The kids have been uber excited to watch each new arrival.
Day 22:
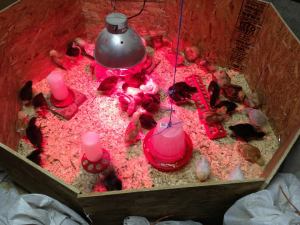
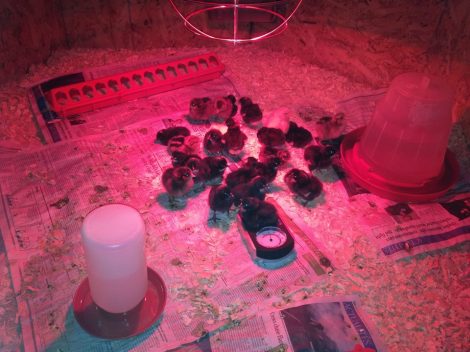
Removed all of the hatched chicks to their new brooder home. Before letting them get acquainted with their new surroundings, I first dipped their beaks in water to train them to drink. Afterwards, with the help of my wife, we released the chicks onto the feed covered newspaper. By sprinkling feed on newspaper, the chicks learn to distinguish between the pine shavings and a feed source. At the end of the night, the chicks have settled in nicely. The brooder is set to 95 degrees Fahrenheit for the first week. We’ll check on them periodically to make sure they are eating and drinking. Finally, we lost one barred rock chick to a condition called sticky chick where the inner membrane sticks to the chick so that it can’t move to pip. It was upsetting. I assisted two other Easter Egger chicks in their hatch who were in the same predicament by gently picking off shell fragments around the air sac. One chick appears to be healthy and properly developed while the other has a crooked foot. This is the inherent danger in assisting chicks out of the shell as sometimes they have deformities or conditions that are life threatening or will require culling. Life can be so precarious.
Clean-up
After the chicks and eggshells have been removed from the incubator you must clean the incubator to disinfect and sterilize before your next hatch. A quick browse of the internet will give you some ideas but I would recommend one of the following two methods. (1) dishsoap and warm water. (2) Bleach and warm water.
I prefer dishsoap and water as bleach can be corrosive and it smells if not mixed properly. I scrub every square centimeter of the foam with a scrubbing sponge, inside and out after I have removed the digital thermometer (undo a couple bolts) and unplugged the power source from the fan. You do not want any bacteria festering in the incubator before your next hatch. They recommend drying in direct sunlight over the course of a couple days but, given our Sprinter (portmanteau of Spring and Winter) weather, I’m drying mine by the wood stove. In cleaning the mesh, I use a hard bristled toothbrush to scrub the gunk off of the wiremesh. Next time around i’ll be using shelving cloth so it won’t be as difficult scrubbing the wire mesh.
All that is left to do is calibrate my thermometer with a couple small thermometers and collect my NHR and Black Australorp eggs.

